Read before using a carbide burr on aluminum
Before using a carbide burr on aluminum, it's essential to familiarize yourself with some important considerations and best practices. Proper preparation and understanding of the material properties will help ensure safe and effective use of the carbide burr. Here are some key points to keep in mind:
1. Material Properties: Understanding the properties of aluminum is crucial when working with a carbide burr. Aluminum is a soft and lightweight metal with high thermal conductivity. It tends to be more malleable and prone to heat buildup compared to other metals. Being aware of these characteristics will help you adjust your technique and approach accordingly.
2. Safety Precautions: Safety should always be a priority when working with any tools. Before using a carbide burr on aluminum, ensure you have the appropriate personal protective equipment (PPE). Wear safety glasses or a face shield to protect your eyes from flying chips and debris. Gloves and a dust mask are also recommended to protect your hands and respiratory system, respectively.
3. Tool Selection: Choose the right carbide burr for your specific application. Consider the shape, size, and tooth pattern of the burr. Different burr shapes, such as cylindrical, ball, or tree, offer versatility for various cutting and shaping needs. Select a burr with a fine or medium tooth pattern, as coarse tooth patterns can cause chatter and leave a rough surface finish.
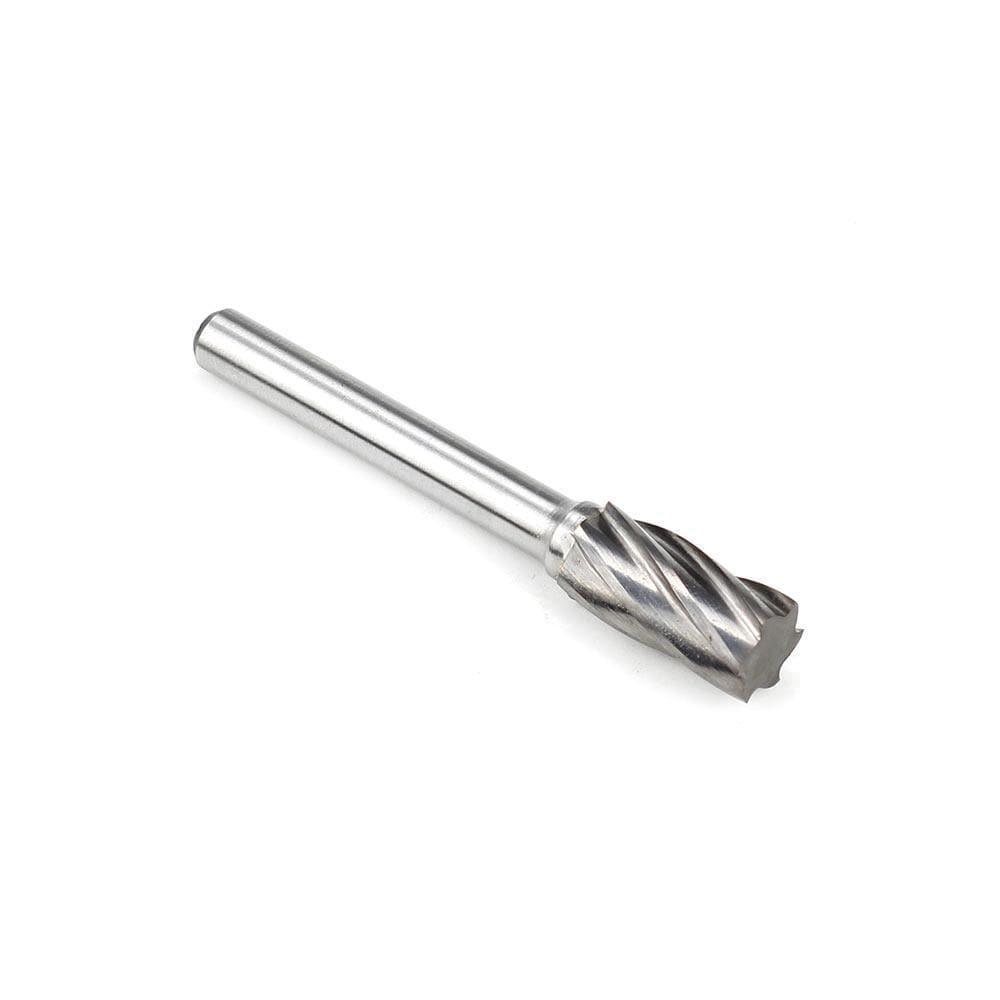
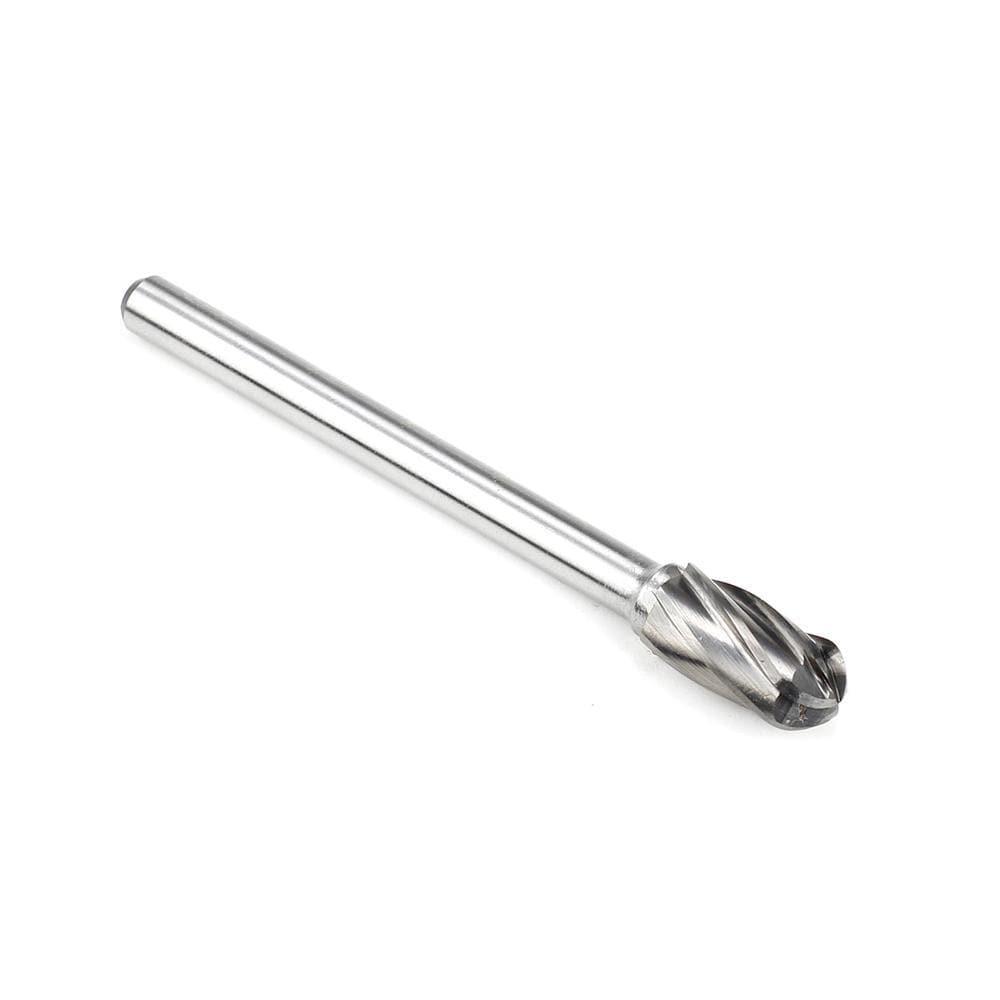
 aluminum burr
4. Speed and Feed: Aluminum requires high rotational speeds and light pressure when using a carbide burr. High speeds help prevent the burr from digging in or clogging with aluminum chips. However, avoid excessive speeds that may lead to overheating. Light, controlled movements with a steady feed rate are key to efficient cutting and preventing heat buildup.
5. Lubrication and Cooling: Aluminum has a high thermal conductivity, meaning it can heat up quickly during cutting. To prevent overheating, lubrication and cooling are essential. Use a cutting lubricant or coolant specifically formulated for aluminum. Apply it directly to the cutting area to reduce friction, dissipate heat, and extend the life of the carbide burr. Proper lubrication also aids in chip evacuation and improves the surface finish.
6. Chip Control: Aluminum tends to produce long, stringy chips that can wrap around the burr and affect its cutting action. To maintain chip control, periodically clear away chips using compressed air or a chip brush. This helps maintain a clean cutting path and prevents chips from interfering with the burr's performance.
7. Technique: When using a carbide burr on aluminum, employ a light touch and avoid aggressive or heavy-handed cuts. Let the sharpness of the burr do the work, guiding it with controlled movements. This approach minimizes heat buildup and reduces the risk of damage to the workpiece.
8. Surface Finish: Carbide burrs can leave a textured or rough surface on aluminum. If a smoother finish is desired, you may need to follow up the burr work with sanding or polishing. Use progressively finer grit sandpaper or polishing compounds to refine the surface and achieve the desired level of smoothness.
9. Practice and Experience: Using a carbide burr on aluminum can be a skill that improves with practice and experience. Start with smaller, less critical projects to familiarize yourself with the process and develop your technique. As you gain confidence, you can progress to more complex tasks.
 ALUMIN RANGE BURRS
Remember to always prioritize safety, work in a well-ventilated area, and follow the manufacturer's instructions and recommendations for the specific carbide burr you are using. By adhering to these guidelines and practicing proper technique, you can achieve excellent results when using a carbide burr on aluminum.
|

